")

With the rapid evolution of technology, the stress and time spent on content creation are a thing of the past. With online AI tools like Pixverse AI, content creation is just a few steps away.
Whether you’re a marketer, educator, or any other type of content creator, Pixverse lets you create captivating video content at a fraction of the cost and effort.
This post includes a complete step-by-step guide to using Pixverse’s AI to create videos from scripts. If you’re in a rush and want to speed up your content creation workflows, this article will help you get there.
Introducing Pixverse AI: The New Era of Video Creation
Pixverse AI is a new AI-powered platform that creates videos from text. Unlike other video creation tools that require you to record footage or use complex editing software, Pixverse AI makes the process easy.
All you need to do is write a script or provide a block of text and the AI will do the rest. The AI analyzes the content, finds the right visuals, animations, and audio, and creates a professional video from it.
Now you don’t have to spend a lot of your precious time, money, and effort creating videos. Pixverse has you covered, whether it’s for social media, marketing, or education, and best of all, it can all be done in a matter of minutes.
What is Pixverse AI and how does it work?
Pixverse AI is a platform that uses AI to convert written text into videos in the simplest way possible. Upon receiving text input, the AI chooses appropriate images, animations, and sounds to accompany the input.
Here’s a very simple breakdown of how Pixverse AI operates:
- Step One – Input: You provide the platform with a script or any relevant text.
- Step Two – Analysis: The AI examines and interprets the text. It focuses on keywords and the context of the entire document.
- Step Three – Creation: The AI then selects the best visuals, animations, and audio that match the content.
- Step Four – Final Result: Once the AI has assembled the video, it displays it for you to get feedback and then you can make any edits you feel are necessary.
This ease of use is what makes Pixverse AI appealing to anyone looking to create high-quality videos quickly.
Appreciating the possibilities of AI video editing
AI has revolutionized the way content is created and also video production. Pixverse AI uses AI in video creation, eliminating any kind of uncertainty. The application suggests the most useful visuals and animations for the given content, which gives a polished touch to the video.
The advantages of AI in video creation are numerous, especially when it comes to video creation efficiency. Using traditional video editing, it can take hours or days to edit videos. However, Pixverse’s AI allows you to create and finalize a video in a matter of minutes.
Likewise, improving the quality of AI depends on the amount of data it processes.
Pixverse’s AI will then improve the way visuals and audio match text over time, resulting in more polished videos that improve with each use.
Why Choose Pixverse AI for Video Production?
Here are some reasons that set Pixverse AI apart from other video creation tools:
- Ease of use: You don’t need to be a video expert to use Pixverse AI. Everyone from beginners to advanced users will find the platform user-friendly and easy to use.
- Affordable: It can be extremely expensive to hire an editor or get high-quality editing software. Above all, Pixverse AI is affordable and offers the same quality.
- Efficiency: If time is of the essence for you, price efficiency is another important factor for Pixverse AI. Unlike traditional methods, Pixverse AI enables and accelerates the pace of video production.
- Customization: AI does most of the work for you, but you still have the ability to customize your video by selecting style, color, and animation to suit your needs.
For all these reasons, anyone who wants to create professional videos without spending a lot of money or time on video production will find Pixverse AI to be an exceptional option.
Step 1: Creating your Pixverse AI account
Creating an account is the first step to using Pixverse AI. To get started, follow these steps:
![]()
- Sign up: Go to the Pixverse AI website and look for the “Sign Up” or “Get Started” button. Next, you’ll need to fill in your email, name, and password. You can also sign up with your Google account or social media accounts.
- Email Verification: Look for an email to verify your account and click the link to activate it.
- Log in: Once you complete these steps, you’ll be able to log in and start creating videos!
Step 2: An overview of navigating the Oculus interface along with Pixverse AI features
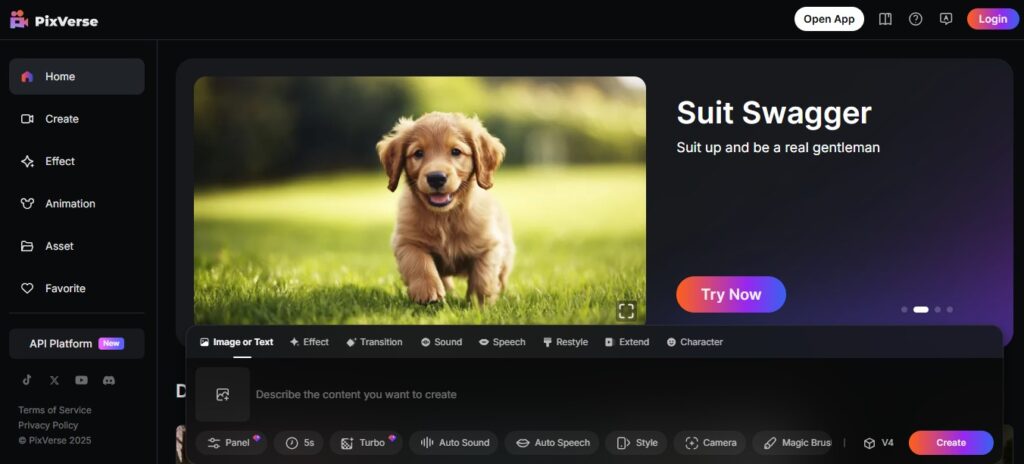
After the login process, the subsequent screen will present the Pixverse AI dashboard. At first glance, we can see that the interface is quite minimalist and intuitive, considering the various sections displayed to facilitate project management.
Here’s what you need to focus on:
- Dashboard: You will see all your video projects here. New projects can be created here, while old ones can be accessed at the user’s convenience along with account settings.
- Templates: This section is particularly useful for beginner users as they can browse through various promotional and educational videos and customize them as per their needs.
- Text Editor: This is the section where the user must provide the script, or rather the text to be converted into video.
- Media Library: A portion of the library is filled with images, animations, and even pieces of music that can be used in the video.
- Viewing and Editing: All necessary edits to the formatted videos can be done at the user’s discretion.
Step 3: Presenting Your Video Idea Through Text-to-Creation
Now the next step requires the user to provide the text, be it a script, an article, or a simple idea, that they want to convert into a video.
- Create a lip sync account: Click on the account section and fill in your new account details.
- AI Processing: For each text, Pixverse’s AI will automatically evaluate the structure of the text to extract key concepts and keywords. Using this information, it will prepare a list of potential video concepts that best fit the content.
Pixverse’s AI processing kicks in at this stage, working on your text in reference to the video.
Step 4: Customizing Video Templates and Styles
Once your text is complete, you can proceed to create videos using a wide range of templates offered by Pixverse AI. Here is the list of customizations that can be made after creating your template:
- Select a template: Using the available template options, choose a template that complements the tone and theme of the script you’ve written.
- Customize colors and fonts: Change colors, fonts, and overall design to sync with your brand requirements or preferences.
- Add animations: Choosing animations that enhance the message of your video ensures that while the message is still conveyed, your video remains lively.
These customizations ensure that your video stands out aesthetically, while also helping it out completely from a functional standpoint.
Step 5: Selecting the appropriate animation and visuals for your script
Every video creation process involves choosing the right visuals to match the context of the video you’re creating. Pixverse’s AI does this automatically for you, providing relevant visuals based on the content you input.
- Browse the media library: Go to the media library and search for animations and visuals that match your script.
- Select visuals: Select images or clips that convey the right impression about your video. For example, if you are talking about technology, you can use images of advanced technologies.
- Enhance with effects: You can also improve the continuity of your video by adding transitions and special effects.
Step 6: Adding Voiceovers and Soundtracks to Your Video
Audio is an essential part of every video as it adds a whole new layer, making the video unique and remarkable. Pixverse AI allows you to add voiceovers and background music to your video.
- Record or upload a voiceover: You can record your voice or upload a pre-recorded one.
- Select Music: Choose the appropriate music from the library that you want to use as the background of your video.
- Adjust the level of all audio: Make sure narration and music are at an appropriate level so they can be easily heard and distinguished.
With these added audio features, your videos will look more polished.
Step 7: Rendering and finalizing your video creation
Once you’ve edited your videos the way you like, the only thing left to do is turn them into a final product.
- Preview the video: Preview your video and check that all parts of it are working correctly.
- Make final edits: If you need to make any changes, do so here.
- Render: Once you are satisfied with your edits, you can click “Render” and the system will generate the final version of your video.
- Download or Share: At this point, you can download the video or share it immediately on social media.
Conclusion
A new emerging software, Pixverse AI, is transforming the world of video creation. Thanks to new AI technology, creating high-definition videos is now simpler, more reliable, and more accessible for both professionals and beginners.
It’s the speed and ease of customization that makes it stand out, especially with so many users looking for eye-catching video content.